
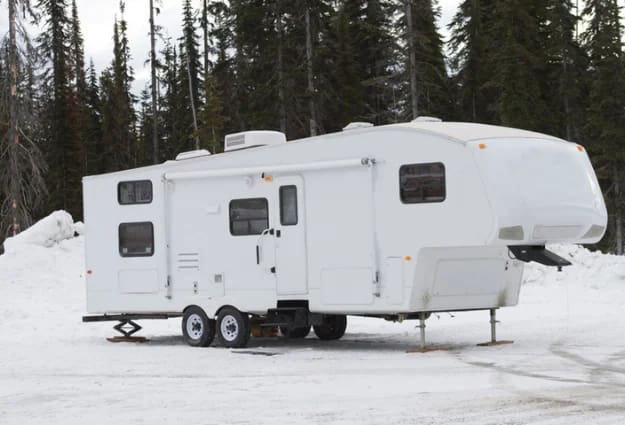
As cold weather approaches, preparing your rig for the season ahead is one of the most important things you can do as an owner. Learning how to winterize an RV the right way can mean the difference between a smooth spring startup and a nightmare of burst pipes and water damage. Whether you own a motorhome or a travel trailer, this guide will walk you through the full winterization process so your vehicle stays protected all season long.
TLDR
- Drain everything first. Empty the fresh water tank, water heater, holding tanks, and all water lines before introducing antifreeze or compressed air.
- Use the right antifreeze. Always use non-toxic RV antifreeze (pink antifreeze). Never use automotive antifreeze, which is highly toxic and dangerous.
- Don’t forget the extras. Protect exterior faucets, seal entry points against pests, deploy jacks, and cover your RV with a breathable cover.
- Store it right. A secure, dedicated storage facility keeps your RV safe from the elements, theft, and vandalism while you wait for warmer days.
Why Winterizing Your RV Matters
Protecting Your RV Plumbing System from Freezing Damage
When freezing temperatures arrive, any water left sitting in your RV plumbing system is at risk of expanding and cracking pipes, fittings, and valves. Your water system, including the water lines, water tanks, and hot water heater, is especially vulnerable. Even a small amount of remaining water in a pipe joint or the water heater’s heating element area can cause serious freezing damage that’s expensive to fix.
Many RV owners skip this step, thinking mild winters won’t cause problems, but it only takes one hard freeze to do real harm. The RV plumbing in your rig runs throughout the entire vehicle, and a single cracked line can lead to leaks that damage walls, floors, and cabinetry.
Avoiding Moisture Buildup and Long-Term Wear
Beyond pipe damage, failing to winterize can lead to moisture buildup inside the RV. Trapped water in the plumbing system or potable water systems can create the perfect conditions for mold and mildew growth over the winter months. Taking the time to properly winterize protects both the mechanical systems and the livability of your RV.
What You’ll Need to Get Started
RV Antifreeze vs. Automotive Antifreeze
This is a critical distinction that every RV owner needs to understand. Non-toxic RV antifreeze (often called pink antifreeze because of its color) is specifically formulated for use in potable water systems and is safe for your plumbing. Automotive antifreeze, on the other hand, is highly toxic and should never be used in your RV’s water system. It contains chemicals like ethylene glycol that are dangerous to people, pets, and the environment. Always make sure you’re purchasing the correct product before you begin.
Tools and Supplies Checklist
Before getting started, gather the following items:
- 2 to 3 gallons of non-toxic RV antifreeze (check your owner’s manual for the exact amount your rig requires)
- A water pump converter kit (or a bypass line connected to your water pump)
- A water heater bypass kit (if your RV doesn’t already have one installed)
- An air compressor with a blow-out plug (if using the compressed air method)
- Basic hand tools for accessing drain plugs and valves
- A cleaning wand for flushing holding tanks
- A sewer hose for draining tanks at a dump station
Step-by-Step Guide to RV Winterizing
Step 1 — Drain the Water System
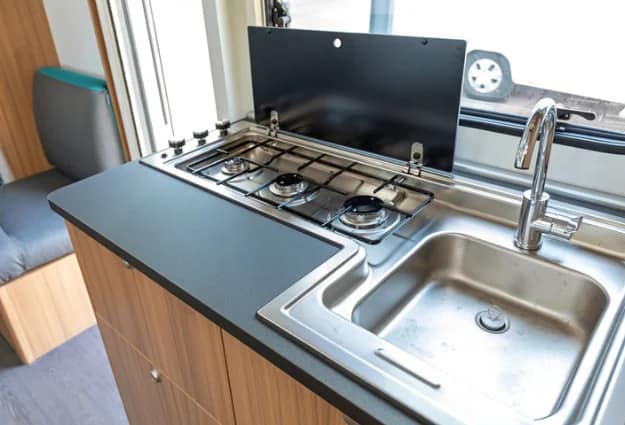
Start by draining all the water from your RV. Begin with the freshwater tank. Open the drain valve and let it empty completely. Next, turn off the water pump and open all faucets, including the kitchen sink and both hot and cold faucets, to release air pressure and allow the lines to drain.
Locate the low point drains on your RV (there’s usually one for hot and one for cold lines) and open them to let any remaining water flow out. Then move to the water heater. Make sure it’s turned off and has had time to cool down before you open the drain plugs and the pressure relief valve to release all water inside.
Don’t forget to drain the gray tanks and black holding tanks as well. Use your sewer hose to empty them at a dump station if needed. Also, drain any drain hose connections and flush the tanks with a cleaning wand if possible.
Step 2 — Bypass the Water Heater
Before you pump antifreeze through the system, you need to bypass the water heater. If your RV has a water heater bypass kit already installed, simply turn the bypass valve to divert the flow around the heater. This prevents you from filling the entire water heater tank with antifreeze, which would waste several gallons.
If your RV doesn’t have a bypass kit, you can purchase one and install it yourself. They’re inexpensive and straightforward. Check your owner’s manual for the specific setup on your model.
Step 3 — Pump Antifreeze Through the Water Lines
Now it’s time to pump antifreeze through the entire system. Connect your water pump converter kit to the inlet side of the water pump. Place the other end of the pickup tube into an antifreeze container filled with RV antifreeze.
Turn the water pump on and begin opening each faucet one at a time, starting with the one closest to the pump. Open the hot side first, then the cold side, and wait until you see solid pink antifreeze flowing from each faucet. Move through the entire RV this way, including the kitchen sink, bathroom sink, shower, and toilet.
Once all fixtures are showing antifreeze, pour antifreeze down each drain to fill the P-traps. This prevents any residual water in the traps from freezing. Flush the toilet a couple of times to make sure antifreeze fills the bowl and the valve seal as well.
Step 4 — Clear Exterior Faucets and Drains
Don’t forget about the exterior faucets and the city water intake connection on the outside of your RV. Open the city water intake valve to push antifreeze through it, then close it. If your RV has an outside shower, run antifreeze through that line too.
Check any other appliances that connect to the water system, like washing machines or ice makers, and consult your owner’s manual for specific instructions on how to protect them.
Step 5 — Protect Holding Tanks and Drain Hoses
After you’ve pushed antifreeze through the fresh water tank side of the system, make sure your holding tanks are protected too. Pour a cup or two of antifreeze down each drain so it settles into the tanks and prevents any leftover antifreeze or residual water from freezing at the bottom.
Once everything is done, turn off the water pump and close all faucets. Store any leftover antifreeze for spring de-winterization, and make sure all the antifreeze is cleaned off exterior surfaces where it may have dripped.
Using Compressed Air to Winterize Your RV
When to Use an Air Compressor Method
Some RV owners prefer using compressed air to blow out their water lines instead of using antifreeze. This method works by forcing all remaining water out of the plumbing with air pressure. It’s a popular choice for those who want to avoid flushing antifreeze through their system in the spring.
This approach can be effective, but it’s important to note that compressed air alone may not remove every last drop of water from every low point in the system. For this reason, many experienced owners use a combination of both methods: blow out the lines with compressed air first, then pump antifreeze through the system as a secondary safeguard.
Blowing Out Water Lines Safely
If you go the compressed air route, connect your air compressor to the city water intake using a blow-out plug. Set the air pressure to no more than 30-40 PSI to avoid damaging your RV’s plumbing fittings.
Open each faucet one at a time, both hot and cold faucets, and let the air blow through until no more water comes out. Don’t forget exterior faucets and the toilet. After blowing out the lines, it’s still a good idea to pour antifreeze into the P-traps and toilet bowl to protect those areas.
Preparing the Exterior and Interior for Winter Storage
Covering Your RV and Preventing Pest Intrusion
Once the winterization process for the plumbing is complete, it’s time to focus on the rest of the RV. Start by giving the exterior a good wash to remove dirt, road grime, and any corrosive materials. Then consider using a breathable RV cover to protect the roof and body from snow, ice, and UV exposure. Avoid plastic tarps, which trap moisture underneath and can cause paint and seal damage.
To prevent pests from making a home in your RV over the winter, seal any gaps or openings where critters could enter. Stuff steel wool into exhaust vents, furnace openings, and any small gaps around pipes or wiring. Rodents can cause significant damage to wiring and upholstery, so taking a few minutes to block entry points is well worth the effort. Remove all food from the interior, including items in cabinets and the refrigerator, and leave the refrigerator door open slightly to prevent mold. You can also use anti-rodent foam around the undercarriage for extra protection.
Tires, Jacks, and Mechanical Prep
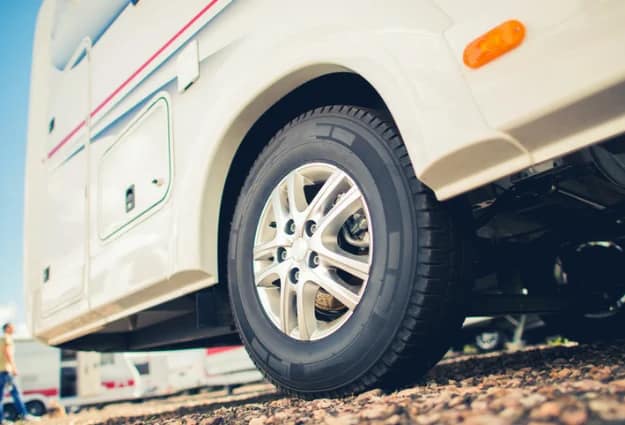
Before you walk away from your RV for the season, take care of a few mechanical items. Set the parking brake and deploy your leveling jacks or stabilizing jacks to take weight off the tires and suspension. If possible, place tire covers on to protect them from UV damage and dry rot.
Check and top off tire pressure, as tires can lose air over the winter and develop flat spots if left sitting on under-inflated tires for months. Disconnect the battery or use a trickle charger to maintain it through the cold weather. Close all windows, vents, and roof hatches, but consider cracking a vent slightly (with a cover in place) to allow minimal airflow and reduce moisture buildup inside.
Choosing the Right Winter Storage for Your RV
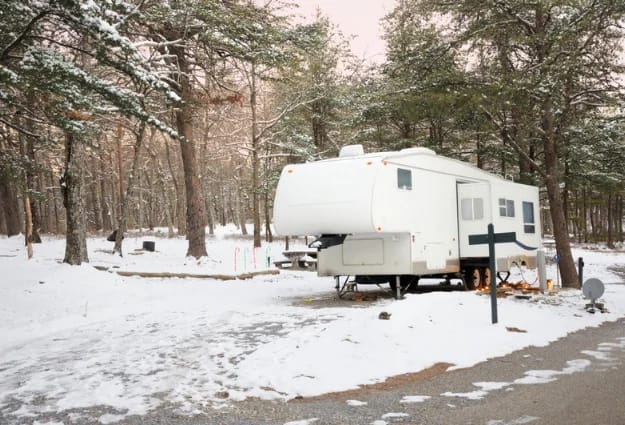
After you’ve completed RV winterizing, finding the right place to store your rig is just as important as the winterization process itself. Storing your RV at home isn’t always practical or allowed by local regulations, and exposure to harsh winter elements without proper cover can undo some of your hard work.
That’s where a dedicated storage facility comes in. If you’re in the Walla Walla area, Dell RV & Mini Storage offers secure RV storage in Walla Walla with features designed to give you peace of mind during the off-season. Our facility is fully fenced with 24-hour video surveillance, electronic gate access, and convenient access hours from 6:00 am to 10:00 pm daily.
Need a place to store extra gear, seasonal items, or supplies you’ve pulled out of your RV? Our mini-storage units in Walla Walla are a great option for keeping everything organized and accessible. Want to know more about what makes our facility a safe choice? You can learn how our storage units keep your belongings safe or learn more about Dell RV & Mini Storage and what we offer.
Ready to Store Your RV for the Winter?
Now that your RV is winterized and ready for the season, make sure it has a safe place to rest. Dell RV & Mini Storage in Walla Walla offers secure, convenient outdoor storage with 24-hour surveillance, electronic gate access, and easy daily access hours. Whether you’re storing a motorhome, travel trailer, or boat, we’ve got the space you need. Reserve your storage space today and enjoy peace of mind all winter long.
Frequently Asked Questions About Winterizing an RV
Do I need to winterize appliances like ice makers and washing machines?
Yes. If your RV has ice makers, washing machines, or other appliances connected to the water system, they need to be protected from freezing, too. Consult your owner’s manual for model-specific instructions. In most cases, you’ll need to run antifreeze through the supply lines that feed these appliances and drain any internal water reservoirs.
Can I just add antifreeze to my RV without draining the water first?
It’s not recommended. You should always drain the fresh water tank and the rest of the water system before you add antifreeze. Simply pouring antifreeze into a tank full of water dilutes it and reduces its effectiveness. The goal is to replace the water in the lines, not mix with it. Proper draining ensures all the antifreeze can do its job of protecting the system.
How do I protect the outside shower and exterior connections?
Your outside shower and any other external water connections need the same attention as the interior. Open the faucets and let antifreeze flow through, or blow them out with compressed air. Don’t forget to check the anode rod in your water heater during this process. If it’s heavily corroded, the off-season is a good time to replace it before the winter months set in.
How do I keep rodents and pests out of my RV during storage?
Pests love to find warm, sheltered storage areas to hide in during cold months, and your RV is a prime target. Remove all food and anything that could attract pests. Use steel wool and anti-rodent foam to seal openings around pipes, vents, and the undercarriage. Place roach traps in cabinets and along baseboards. Leaving a cabinet door open slightly helps air circulate and makes the space less inviting to critters.
What happens if I skip winterization and something freezes?
Skipping winterization can lead to costly repairs. Frozen water expands inside pipes, fittings, and tanks, which can crack or burst them. Fixing a damaged plumbing system, replacing a water heater, or repairing water-damaged interiors can cost hundreds or even thousands of dollars. Taking a couple of hours to properly winterize is a small investment compared to the alternative.
Should I use external jacks or stabilizing jacks when storing my RV?
Yes, deploying your external jacks or stabilizing jacks during winter storage helps take unnecessary weight off the tires and suspension. This reduces the risk of flat spots on your tires and minimizes stress on the frame. Just make sure the jacks are placed on solid, level ground. For more answers to common storage questions, check out our FAQ page.


